Bill Pay: How to Schedule a Payment in Online Banking
How To Schedule A Payment via Bill Pay
General Information:
Scheduling a payment is easy!
Quick Pay – Allows you to schedule one payment at a time.
Pay Bills – Allows you to schedule several payments at once.
Quick Pay – Scheduling a Payment
From the "Bill Pay Dashboard" click on the green arrow icon to open the list of payees
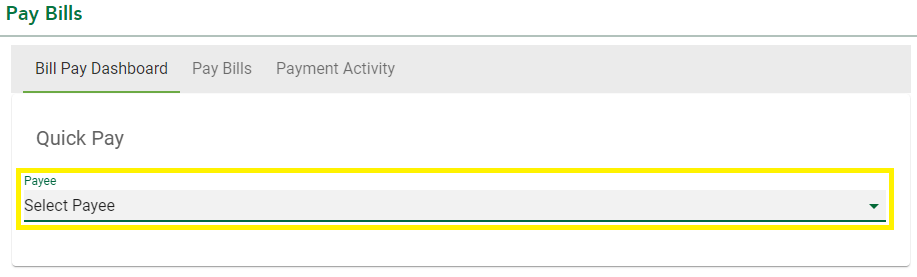
Select the payee you wish to pay from the list displayed
(1).png)
Once the payee is selected, the fields will autofill with the payee's information.
- Payee Name
- Pay From Account – select the account you wish to pay from
- Send Date and Estimated Delivery Date – select the date you wish to send payment, or the estimated date you would like it delivered.
- Enter the amount of your payment.
.png)
Once you have selected the dates and entered the amount, you will be presented with options to select:
- Frequency – Use this to schedule automatic recurring payments.
- Memo Line – If paying by check, the memo line will be printed on the check sent to the payee. Use this to include special instructions or a note to the payee.
- Alerts – You can select to be alerted on the status of the payment
Click "Pay" to schedule your payment
.png)
Pay Bills
From the "Pay Bills" screen you will see a list of all your payees.
- You can enter the amount for each payment
- Select the desired date to be sent or estimated delivery date.
- Select which account to debit. All checking and money market accounts are available
- Select frequency – Use this to set up automatic recurring payments as desired.
- You can select to be alerted when "payment is delivered" and "X days before payment is sent"
Click Continue to move to the confirmation page
.png)
Review all payment information on the confirmation page. If everything is correct, click "Pay." If you need to make changes, "Go Back" to make the necessary edits.
.png)
Once you select ‘Pay’ you will see a ‘Payments Created!’ confirmation screen.
